
Double Color Exposure Photo Effect
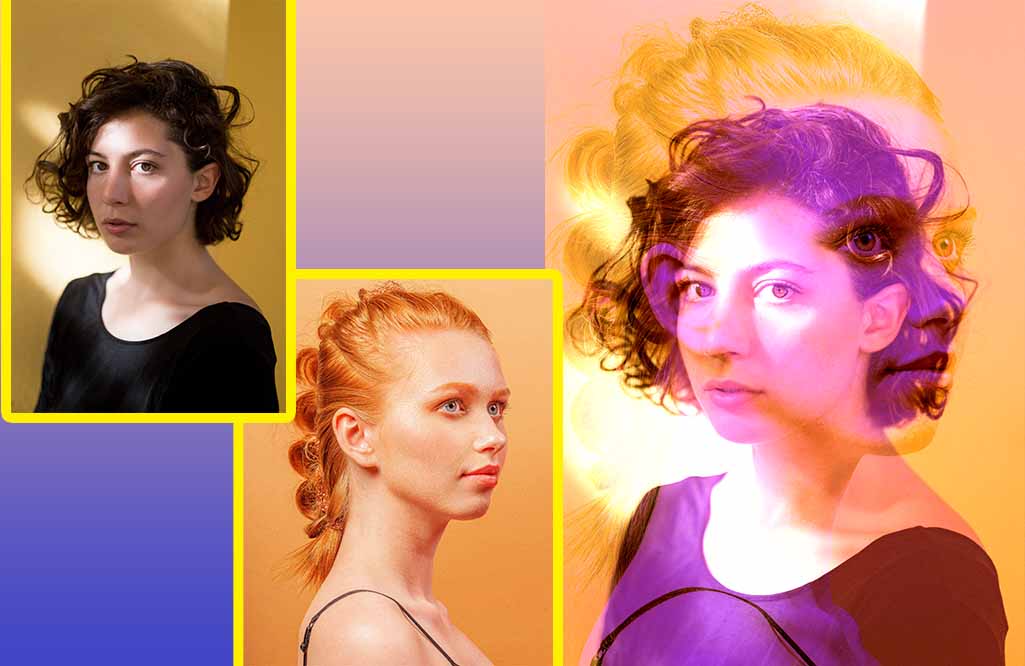
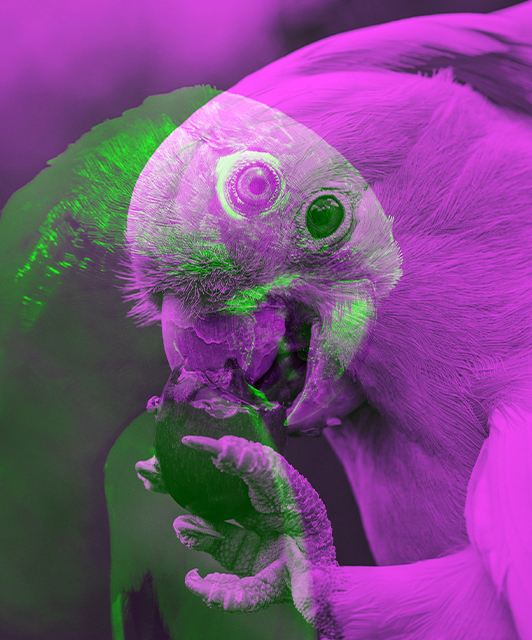
Friends! I can share attractive Photoshop effects. You can create double color exposure effects, and it turns out it’s super easy to do with Adobe Photoshop’s advanced blending options. Usually, the technique is applied to two different poses of the same model, just so that the poses are different in the two ‘exposures’, but here I found that the effect looked great with just a duplicate of the same image, but with the duplicate made slightly larger so to appear to take prominence.
{tocify} $title={Table of Contents}
Tutorial
Preview
Create a Double Color Exposure Effect in Photoshop
In this double color exposure effect tutorial, we are going to blend two photographs into one image, creating a creative photo effect. This double color exposure tutorial is easy enough for beginners to follow, but basic knowledge of Photoshop is recommended. In case you are interested, I have also done a tutorial on how to create a double exposure effect.
Advanced blending
- Duplicate the background layer Cmd+J Ctrl+J.
- Using Shift + ←, slightly nudge the duplicate to the left.
- Right-click on the duplicate layer, and click on Blending Options.
- In the dialog that appears, and under the Advanced Blending option, uncheck the R (Red) channel.
- Now click on OK to confirm.
- Hit Cmd+T Ctrl+T to activate the transform tool and Shift + click, hold and drag out to slightly enlarge the duplicate.
- Use the Move Tool → V if needed to adjust the position of the duplicate layer.
- You may also want to crop your image slightly to the edge of the duplicate on the right side.
Also Download
- Pixel to Vector Generator Free Download | FX Box |
- Ice Storm Action For Photoshop Free Download
- Watercolor FX – Photo Effect Free Download
Download Now
Password is : sufian amjad